Categories
Alvosec

Why is KYC important for crypto businesses?

KYC, or Know Your Customer, is a process that helps verify the identity of customers in the crypto community. This is important for a number of reasons. Most importantly it helps prevent financial crimes such as crypto scams. By verifying the identity of customers, businesses can ensure that they are not dealing with individuals or organizations involved in criminal activities.

Important!

Second, KYC helps build trust and credibility within the crypto community. By verifying the identity of customers, businesses can show that they are committed to operating in a transparent and responsible manner. This can help build trust and confidence among customers, partners, regulators, and other stakeholders.

To unlock all the great features that Proton has to offer, you are required to verify your identity on the Proton Blockchain. If you are doing this for the first time, please prepare a government issued identification document (Drivers License or Passport), and a device with the WebAuth Wallet installed.

Third, KYC can help businesses to comply with regulations. Many countries have laws and regulations that require businesses to verify the identity of their customers. By implementing KYC processes, businesses can ensure that they are complying with these regulations and avoid potential penalties and fines.

Overall, KYC is an important part of the crypto ecosystem. It helps prevent financial crimes, build trust and credibility, and ensure compliance with regulations.

While implementing KYC procedures can reduce the risk of scams, it is not a guarantee that hacks and scams will not occur. It is important for businesses to implement robust security measures in addition to KYC procedures in order to protect themselves and their clients from potential threats.

Categories
Alvosec

What is clickjacking attack?

A clickjacking attack is a type of web security exploit that involves tricking a user into clicking on a malicious link or button, typically by overlaying the malicious element on top of a legitimate element on a web page. This can be done by using transparent or opaque layers to hide the true nature of the button or link, or by using other techniques to deceive the user into thinking they are clicking on a harmless or legitimate element.

Clickjacking attacks can be used to perform a wide range of malicious actions, such as stealing the user’s login credentials, redirecting the user to a malicious website, or infecting the user’s device with malware. Because the user is tricked into clicking on the malicious element, they may not realize that they have been targeted by an attack until it is too late.

To protect against clickjacking attacks, web developers can use various techniques, such as implementing a “frame busting” script that prevents the page from being loaded in an iframe, or using the X-Frame-Options HTTP header to prevent the page from being loaded in a frame. Users can also protect themselves by being cautious when clicking on links or buttons on unfamiliar websites, and by using web browsers with built-in protection against clickjacking attacks.

Clickjacking defense

There are several steps that web developers and users can take to prevent clickjacking attacks:

  1. Use a “frame busting” script: This is a piece of JavaScript code that prevents the current page from being loaded in an iframe. This can help prevent attackers from overlaying the page with a malicious element, as the page will not be displayed in the attacker’s iframe.
  2. Use the X-Frame-Options HTTP header: This is an HTTP response header that can be used to prevent a page from being loaded in a frame or iframe. By setting the X-Frame-Options header to DENY, the server will refuse to display the page in a frame or iframe, providing protection against clickjacking attacks.
  3. Use the Content-Security-Policy HTTP header: This is an HTTP response header that allows web developers to specify which sources are allowed to load content on the page, such as scripts, stylesheets, and images. By setting the Content-Security-Policy header to only allow content from trusted sources, web developers can prevent attackers from loading malicious content on the page.
  4. Use a browser with built-in clickjacking protection: Some web browsers, such as Google Chrome and Mozilla Firefox, include built-in protection against clickjacking attacks. This can provide an additional layer of protection for users, even if the web page itself does not have any safeguards against clickjacking.
  5. Be cautious when clicking on links or buttons on unfamiliar websites: Users can also protect themselves against clickjacking attacks by being cautious when clicking on links or buttons on unfamiliar websites. If a link or button seems suspicious, the user should not click on it, and should instead navigate to the destination directly by entering the URL in the address bar.

By implementing these steps, web developers and users can significantly reduce their risk of being targeted by a clickjacking attack. It is important to remember, however, that no single solution can provide complete protection against clickjacking attacks

Categories
Alvosec

Device Fingerprinting: Discover how exposed are you?

Definition

Device fingerprinting is the process of analyzing a device’s unique attributes to identify it. This approach intends to track individuals reliably and collect individualized identification information.

Cookies are the most common method of tracking users. While they’re practical and users likely have some familiarity with them, they raise concerns for privacy-conscious users who disable or delete the cookies from their devices.

Although device-level fingerprinting aims to be more reliable than earlier data tracking forms, such as cookies, it isn’t an exact science. There’s still some guesswork involved as it consolidates different data points from a user’s device to calculate a unique value. Device-level fingerprinting assumes the data it collects from a device will be the same at other times, which isn’t necessarily the case.

Overview

Let’s explore how device-level fingerprinting works.

When a user visits a web-based application, a small JavaScript code queries APIs for the device’s information. This data includes the browser version, operating system, and user settings details.

The device fingerprinting provider applies a fingerprinting algorithm to the collected data, creating a unique, identifying value. They then use that value to partially or entirely identify a device.

Since system configurations keep changing, collecting device information at various times increases the accuracy of identifying it using a device fingerprint.

Examples of Fingerprint Information

Device fingerprinting uses several kinds of information when creating a device profile, such as:

  • IP address
  • Browser type
  • Operating system
  • Screen configuration – size, resolution, and color depth
  • Installed applications
  • Device memory
  • System fonts
  • Language
  • Time zone

Unlike other data collection methods, like HTTP cookies, the user’s browser doesn’t store device fingerprints. Instead, the visited application keeps these fingerprints on its server. Therefore, users can’t delete the collected data or disable device fingerprinting, making it impossible to stop the device fingerprinting process.

Test your device against fingerprinting on browserleaks.com

BrowserLeaks is all about browsing privacy and web browser fingerprinting. Here you will find a gallery of web technologies security testing tools that will show you what kind of personal identity data can be leaked, and how to protect yourself from this.

How Accurate is Device-Level Fingerprinting?

The accuracy of device-level fingerprinting is varied and somewhat inconsistent. Research analyzing over 500,000 browser fingerprints shows that desktops are easier to track than mobile phones. The fingerprints uniquely identified 74% of desktop versus 45% of mobile users. Furthermore, 10% of devices the researchers observed multiple times changed their fingerprints between observations.

This data demonstrates that using device fingerprinting to identify a device doesn’t guarantee accurate results. However, fingerprinting is still helpful when perfect accuracy isn’t necessary. Ad tracking and fraud detection are two examples.

What is Device-Level Fingerprinting Used For?

Let’s explore several use cases for device fingerprinting.

Tracking and Analytics

Device fingerprinting enables us to track and identify users as they browse the internet. Advertising companies use the method to analyze and understand user behavior and improve how they target users with personalized ads. For example, digital marketers can track a website’s new and returning visitors to gain insights into the impact of their marketing strategies.

Fraud Detection

We can detect fraud by flag flagging suspicious devices via device fingerprinting. When a user logs in to an application, the application compares the device fingerprint stored on the server to the current device’s fingerprint. If it detects a notable inconsistency, the app marks the device as suspicious.

Cookie Alternative

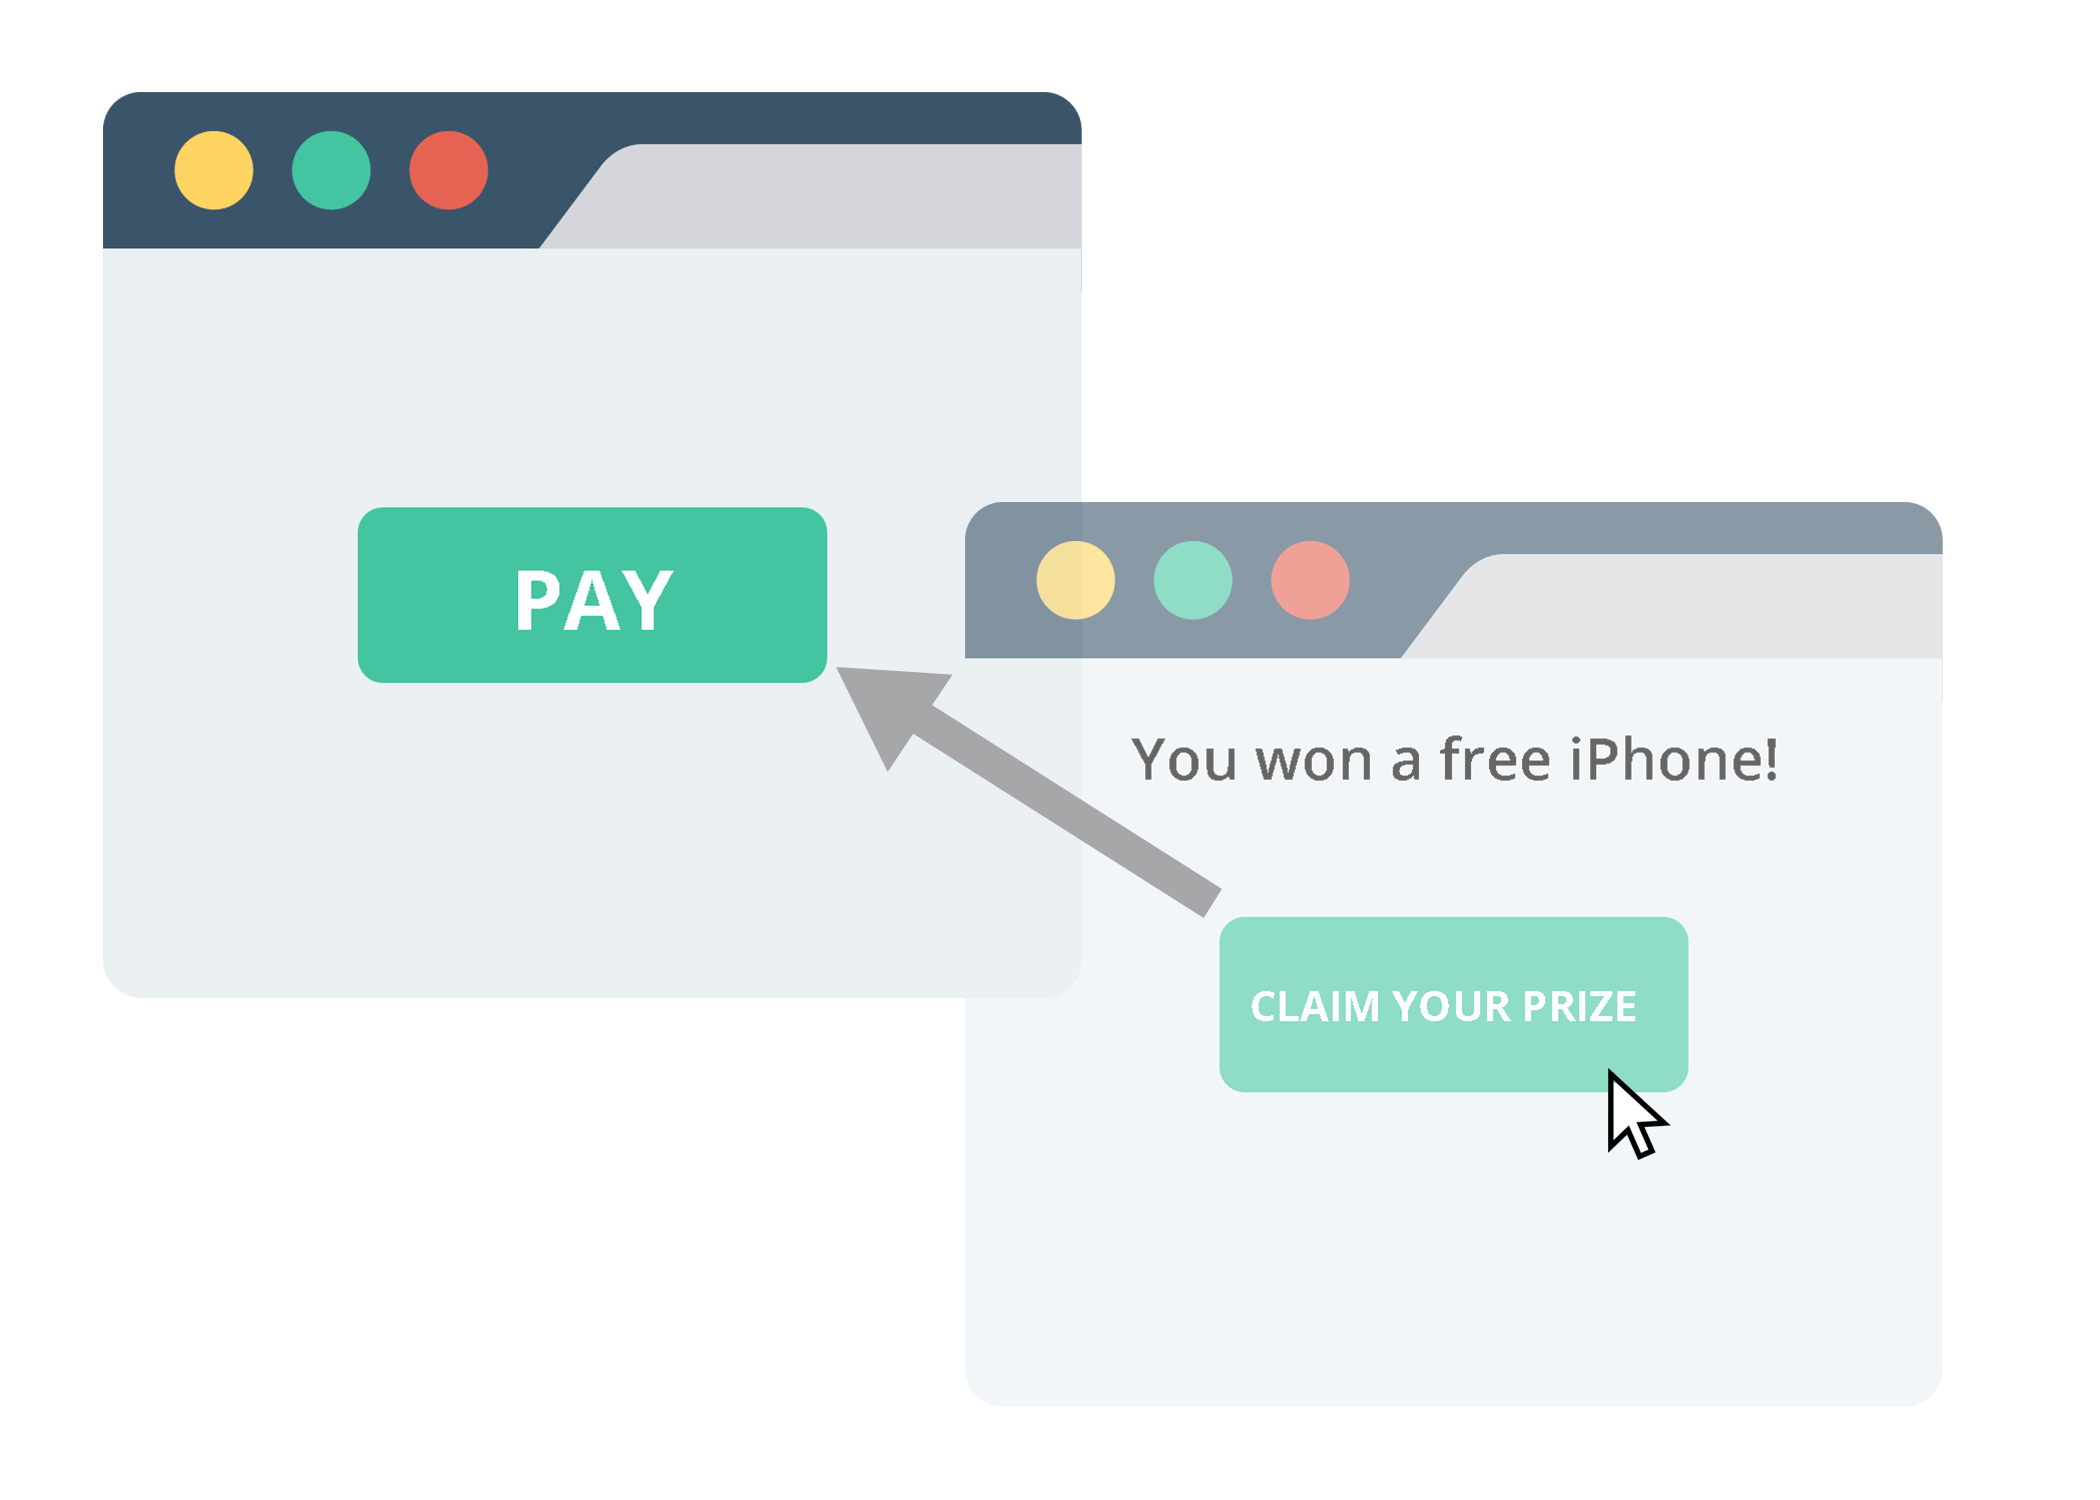
In the past, trackers relied on cookies to identify users. However, users can block or delete cookies, making them unreliable. Device fingerprinting is an alternative to these lost cookies since users can’t disable it.

Device-Level Fingerprinting Pros and Cons

One of the main advantages of using device-level fingerprinting to track users is its reliability and consistency. We don’t have to worry about losing the user’s data when they exit their browser or clear their cookies since we store the data on our server.

However, users may be concerned about the lack of control over how websites use their data. They may take actions to actively block the fingerprinting, making it more challenging to identify each user.

How to Prevent Data Fingerprinting

Device fingerprinting is a powerful tracking technique and is difficult to block. Yet, there are some ways users can minimize their chances of being identified.

Using Popular Browsers

Since device fingerprinting relies on a system’s configurations for identification, using a browser that many people use reduces the chances of being identified. If someone is on a browser with fewer users, their device becomes easier to identify since there are fewer potential devices.

Keeping the browser up to date also decreases the chances of being identified. The browser’s latest features may aim to reduce online tracking.

Using Incognito Mode

Incognito mode reduces the amount of data that users broadcast to the internet. Since the shared data is usually the same across several users, generating a unique device fingerprint becomes more challenging.

Using VPNs

A virtual private network (VPN) masks a user’s actual location by rerouting their internet traffic through a remote server in another area. This approach makes it seem like their traffic originates from a different IP address and physical location. The device fingerprint provider calculates the fingerprint using the fake address.

Users are harder to identify when using a popular VPN because many servers connect to the service.

Disabling JavaScript

Most device fingerprinting scripts run on JavaScript. So, disabling JavaScript prevents websites from collecting data from the terminal.

The downside of using this method is that most browsers rely on JavaScript to function correctly. Disabling JavaScript negatively affects the browsing experience, causing some users to avoid this approach.

Disable WebRTC if you are using Chrome, Firefox or Opera. Unfortunately, it has been revealed that it’s possible to get hold of the IP address of users running WebRTC even if they are connected to a VPN or proxy service.

Key Takeaways

Device fingerprinting is a technique to identify a device by gathering its data. Unlike cookies, a server stores the data fingerprint, making it difficult to delete or prevent the data collection process. So, tracking users is more consistent.

However, users can avoid being easily identified by device fingerprinting by using popular browsers, VPNs, and incognito mode. Users could also disable JavaScript, though it would disrupt their browsing experience.

Device-level fingerprinting helps detect security threats while minimizing false positives.

Categories
Alvosec

Protecting data in AWS S3: A step-by-step guide to secure your buckets.

AWS is the top cloud provider worldwide, offering clients the same infrastructure Amazon uses for its e-commerce. S3, part of the AWS suite, is an object storage service for storing files, music, videos and more as objects.

However, S3 data breaches are not uncommon, such as the US voter records leak from a misconfigured S3 access policy or the recent SEGA vulnerability from similar access issues.

To keep S3 objects safe, AWS users need to secure their S3 buckets. This article offers simple tips to ensure the protection of objects stored in S3.

We have split the steps into two parts. The first part focuses on preventing data breaches through proper bucket access configuration. The second part covers measures to reduce the effects of a potential breach.

Let’s examine the preventive steps to secure your AWS S3 buckets.

Preventing Data Loss through Access Management

Preventing data breaches from misconfigured access policies is crucial. The access others have to your S3 buckets depends on the use of the buckets. For example, if used to share data among teams, all members should have access while personal data buckets should not allow public access.

AWS provides granular access controls by:

1. Blocking public access

Denying public access is best for personal data or backup file storage in S3 buckets. Use AWS S3 Block Public Access Settings to block public access to objects stored in your buckets.

Using “Block all public access” overrides all other access permissions, such as Access Controls Lists (ACLs) and Access Points. If you do want to grant some form of access to others, you can choose between the four other options provided below.

Unless you’ve changed your global settings, all new buckets should block all public access by default.

2. Using S3 Bucket Policies to control bucket assess

Use S3 Bucket Policies for controlled access by others to your buckets. These policies apply to all objects in the bucket and can be set to limit access in various ways.

For example, a bucket policy can be configured to allow access only from certain IP addresses:

Bucket policies can also grant access based on specified conditions. For example, only allowing access from HTTPS domains reduces the risk of man-in-the-middle attacks.

3. Managing roles using Identity and Access Management

Use Identity and Access Management (IAM) in addition to S3 Bucket Policies to control access to your S3 buckets. IAM defines user permissions in the AWS environment while bucket policies set access rules for specific buckets.

Use IAM when dealing with AWS services other than S3 or having multiple S3 buckets with different access needs. Also, follow the principle of least privilege by granting minimum access first and increasing as needed when setting up IAM policies.

4. Defining object access using Access Controls Lists (ACLs)

Before discussing how ACLs can be used for S3 buckets, it’s important to note that Amazon recommends sticking to IAM and bucket policies for controlling access. This is perhaps because misconfigured ACLs have resulted in some of the more prominent S3 breaches.

With that disclaimer out of the way, let’s understand how ACLs are different from bucket policies. As we’ve mentioned previously, S3 bucket policies apply to all objects within a single bucket. Resultantly, it’s impossible to set differing permissions for different objects in an S3 bucket using bucket policies.

This is where ACLs come in handy. You can use one to set fine-grained permissions for each object within a bucket. So, while the rest of the bucket could be private, a specific object within it can be made public and vice versa. This is useful in situations where you may want certain objects within a bucket to have different access from other objects.

5. Using S3 Access Points

Amazon announced a new and efficient way of managing access to S3 buckets, known as Access Points. This new feature allows users to create unique access control policies for each access point in a bucket. As a result, managing access permissions across large S3 buckets, such as data lakes, is much easier with Access Points.

Instead of configuring a single lengthy policy for the entire bucket, users can control permissions using specific access points. This makes scaling permissions across large datasets a seamless process.

Access points can be used to grant access for an individual or a group and can be specific to a particular application or group of applications.

Users can use access points to ensure that all access to S3 resources happens only through a Virtual Private Cloud (VPC).

Tips to Mitigate the Impact of a Breach

At the end of the day, it’s a question of when and not if a data breach happens. Even if you’ve configured your access policies perfectly,  a malicious element on the web might be able to breach your S3 buckets. In such a situation, it’s important to minimize the potential harm of a data breach. Some useful ways of doing this are to encrypt the stored data and keep audit logs.

Encrypt data stored on S3 buckets

Encrypting the data you store on an S3 bucket helps ensure its security and sanctity in a situation where a hacker is able to gain access to your AWS dashboard. Resultantly, it prevents your data from being completely exposed in case a breach does happen.

You can encrypt your data in transit (during transmission to the AWS servers) and at rest (while stored in the AWS servers). For encryption at rest, you can choose between the following options:

  • Client-Side Encryption – the user encrypts the data themselves before uploading it to the AWS server. The data is encrypted before it leaves your device. Hence, using client-side encryption ensures that data is encrypted during transit as well.
  • Server-Side Encryption – AWS manages the encryption process. It encrypts user-uploaded data using standards such as AES-256 and decrypts it when needed. As the following image depicts, AWS offers two kinds of server-side encryption: SSE-S3, in which S3 creates and manages the keys, and SSE-KWS, in which the AWS KMS protects the encryption keys.

It’s important to enforce encryption during transit when using SSE. This is done by defining bucket policies that grant access only to requests using the HTTPS protocol, as discussed above.

Audit Logs

If a breach does happen, it’s important to identify and detect where it came from. This is where logging is useful. AWS lets you capture data on the different requests made to a particular bucket or object. Resultantly, potentially malicious access requests can be identified and blocked. Access requests can be logged in the following ways:

  • Sever Logs – these logs contain details about the request, such as the requester and target bucket. Server logs are free to create. However, they are stored in a different S3 bucket, which will cost you money. The following images show how server logging can be configured.
  • AWS CloudTrail – CloudTrail is a useful tool that allows for access tracking at the object level. It allows detailed activity, such as the origin of the request, to be viewed for each object in the bucket. That said, it is a paid service and will cost you in addition to the price of the S3 subscription.

In conclusion, securing your AWS S3 buckets is important for protecting your sensitive data. Use access policies, IAM, and ACLs to manage access and limit risks of data breaches. Consider adding MFA for extra security. Taking these steps will ensure your data is protected in the long run.

Categories
Alvosec

Shamir’s Secret Sharing Scheme

Shamir’s Secret Sharing (SSS) is an efficient secret sharing algorithm for distributing private information (the “secret”) in such a way that no individual holds intelligible information about the secret. To achieve this, the secret is converted into parts (the “shares”) from which the secret can be reassembled when a sufficient number of shares are combined but not otherwise. SSS has the unusual property of information theoretic security, meaning an adversary without enough shares cannot reconstruct the secret even with infinite time and computing capacity. A standard SSS specification for cryptocurrency wallets has been widely implemented.

If you want to use even more advanced way of storing password or cryptocurrency private key, then you can use ssss – (Shamir’s Secret Sharing Scheme), a cryptography program to split a secret into n parts, requiring at least t parts to be recovered (with t <= n).

sudo apt install ssss

Then we have two options ssss-combine and ssss-split, in our case we will use ssss-split:

ssss-split -t 3 -n 3 -w btc -s 128
Generating shares using a (3,3) scheme with a 128 bit security level.
Enter the secret, at most 128 ASCII characters:

Enter your password which you want to split in 3 parts. We’ve also added option -w and -s that enforce security level (in bits).

-w token Text token to name shares in order to avoid confusion in case one utilizes secret sharing to protect several independent secrets. The generated shares are prefixed by these tokens.

-s level Enforce  the  scheme’s  security level (in bits). This option implies an upper bound for the length of the shared secret (shorter secrets are padded). Only multiples of 8 in the range from 8 to 1024 are allowed. If this option is omitted (or the  value  given  is 0) the security level is chosen automatically depending on the secret’s length. The security level directly determines the length of the shares.

Output will look like this:

Generating shares using a (3,3) scheme with a 128 bit security level.
Enter the secret, at most 128 ASCII characters: Using a 160 bit security level.
btc-1-e9df9b4fba7fa9ff09792526247d56d9d
btc-2-5f1968dbcf9d25d58bf09bbe8437cb8bc
btc-3-86caf1799b546be9e3213486ec945e9a4

Now let’s combine all 3 shares to recover our secret password:

ssss-combine -t 3
Enter 3 shares separated by newlines:
Share [1/3]: btc-1-e9df9b4fba7fa9ff09792526247d56d9d
Share [2/3]: btc-2-5f1968dbcf9d25d58bf09bbe8437cb8bc
Share [3/3]: btc-3-86caf1799b546be9e3213486ec945e9a4
Resulting secret: 561cPJbLWFwWOMxtEcpE

Three secret shares can be stored on three different locations, but remember that all of them are conditioned by each other in any order!

Categories
Alvosec

How to Install and Configure OSSEC on Ubuntu Linux

OSSEC is an open source host-based intrusion detection system that can be used to keep track of servers activity. It supports most operating systems such as Linux, FreeBSD, OpenBSD, Windows, Solaris and much more. It is used to monitor one server or multiple servers in server/agent mode and give you a real-time view into what’s happening on your server. OSSEC has a cross-platform architecture that enables you to monitor multiple systems from centralized location.

First, you will need to update your system with the latest stable version. You can do this with the following command:

apt-get update -y

First we will install the necessary packages to build OSSEC from sources.

sudo apt install build-essential gcc make unzip sendmail inotify-tools expect libevent-dev libpcre2-dev libz-dev libssl-dev -y

Install OSSEC

First, download the latest version of the OSSEC from GitHub repository with the following command:

sudo wget -P /opt https://github.com/ossec/ossec-hids/archive/3.7.0.tar.gz

The above command will download the OSSEC sources into the /opt directory. Before building those we need to extract them from the tarball. We’ll use the next command:

sudo tar -zxf /opt/3.7.0.tar.gz –directory /opt

Once downloaded and uncompressed we can start the installation process. Very conveniently there is an script already incorporated on the program for this task. We launch this installer.

sudo sh /opt/ossec-hids-3.7.0/install.sh

This will trigger the script which will first ask a few questions and then it will build and install OSSEC in our system.

In the following installation choose local to monitor the server it has been installed.

Once the installation is completed, start OSSEC with the following command:

/var/ossec/bin/ossec-control start

Configure OSSEC

The default configuration of OSSEC works fine. The OSSEC mail configuration file is located inside /var/ossec/etc/ directory.
Now, open the OSSEC main configuration file ossec.conf using the following command:

nano /var/ossec/etc/ossec.conf

Add the <alert_new_files> tag so OSSEC will look for new files. Also specify the directory you want to monitor with the following tag <directories check_all="yes">. You can also adjust the frequency OSSEC checks (time in seconds).

<directories check_all="yes">/path/</directories>

Just adding the folder usually won’t trigger alerts, so if you want alerts you’ll have to edit a rule.

nano /var/ossec/rules/local_rules.xml

Add the text below within the tag <group name="local,syslog,">.

OSSEC can be configured in any way you want, just try to explore as much as you can and read official documentation.